A Facebook business page can help you reach new audiences, and you can set one up in just a few steps. Here’s how you can create a Facebook business page:
We have a video format so that you can follow each step easily. Check the video below:
Creating a Facebook business page requires that you sign in to your personal Facebook account first. Once you are logged in click on the “Pages” option available in the left-hand side Section of your Facebook Home page.
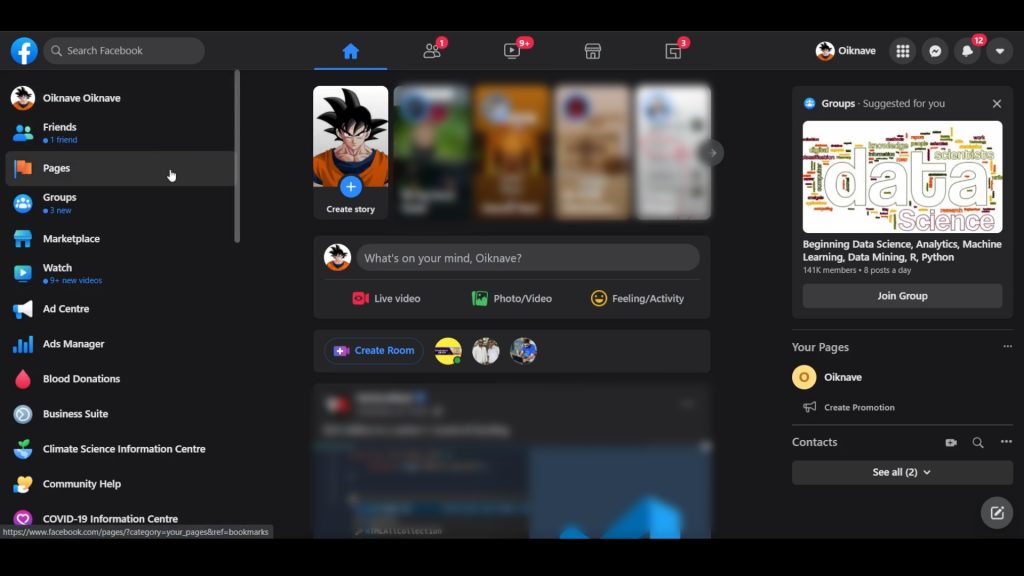
Alternatively, you can also find the page option by clicking on the menu option on the right-hand side and then selecting Pages.

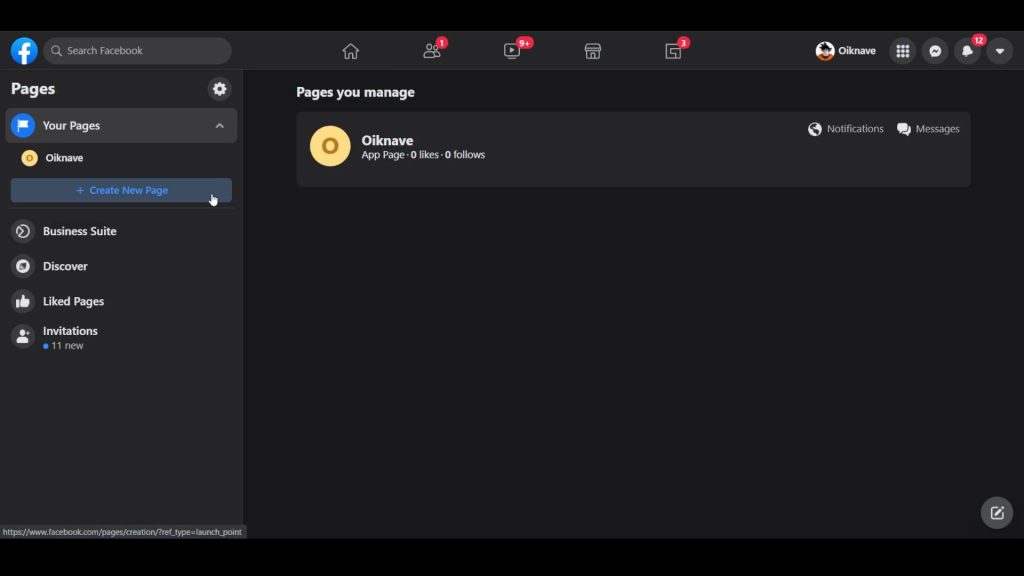
Now, click on the “Create New Page” button from the left-hand side section.
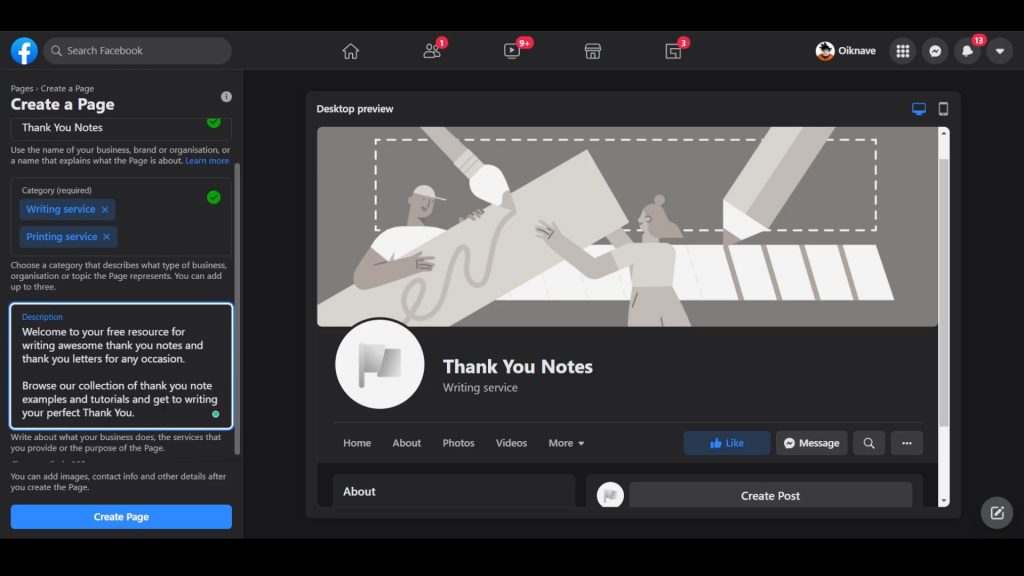
The first thing you can notice here is that The User Interface is different than the earlier UI. On the left-hand side, you will see options to fill in the Page details. First, we will add a Page name.
I’ll name this page “Thank You Notes”. From the Category choose the one that resembles most with your business. The first category will be displayed on your page and the remaining can help you while customers discover your page.
In the Description input section, enter an introduction of what your business is all about. The information can include what services you provide, or the purpose of the page you have created.
Click on the “Create Page” button.
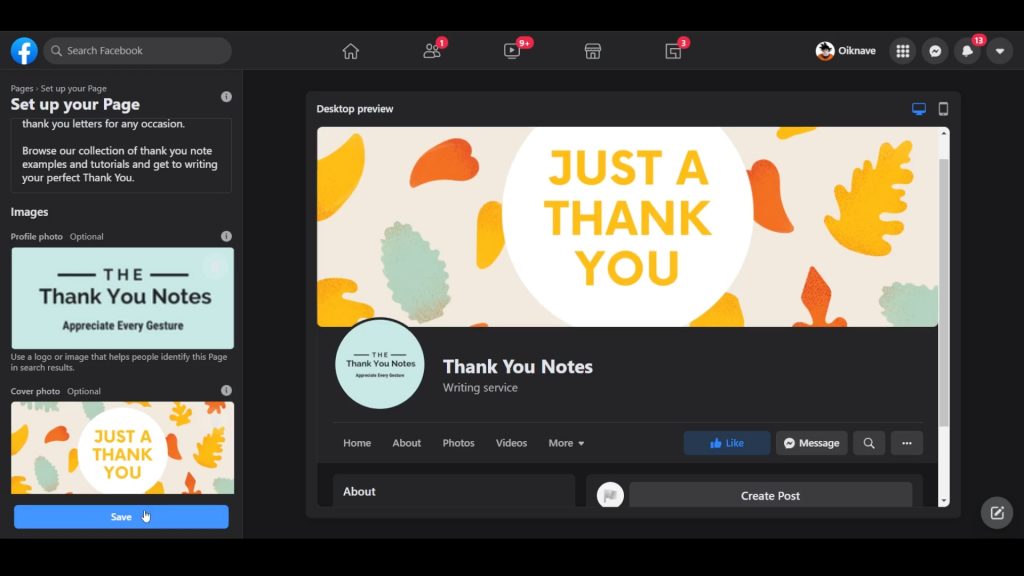
Now you can add a page logo and a cover photo of your page. As you can see on the page that the Page logo outline is a circle, it is preferred that the logo is such that it does not cut out from the frame.
Now, add the wallpaper by selecting a photo from your device and then clicking on Add cover photo option.
Once done click on the Save button.
This is your Dashboard for your business page. From here you can manage everything on the page.
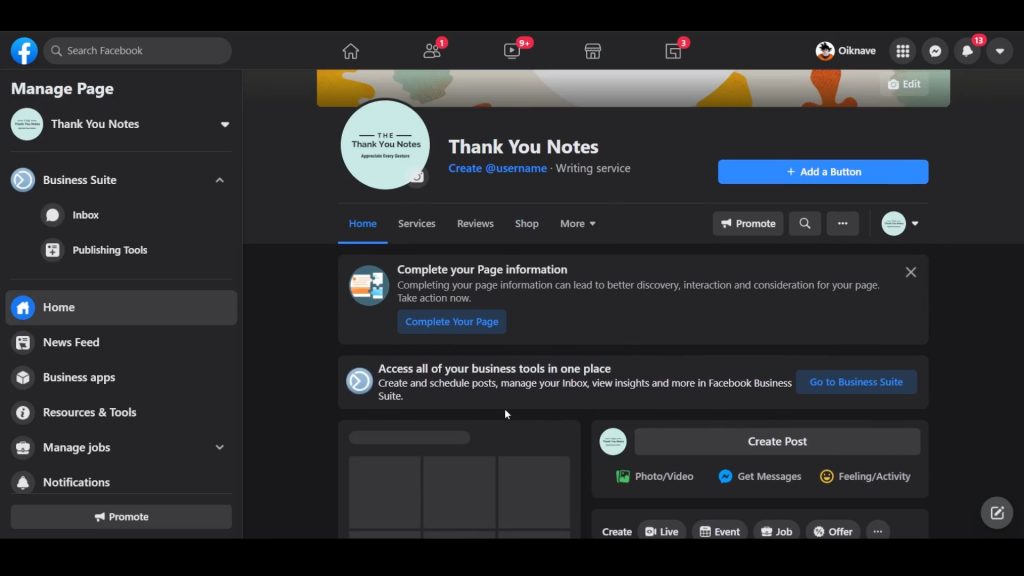
The first thing we will do is add a call to action on the page. On the Dashboard you can find a “Add a Button Page” near the page title. Click on the same.
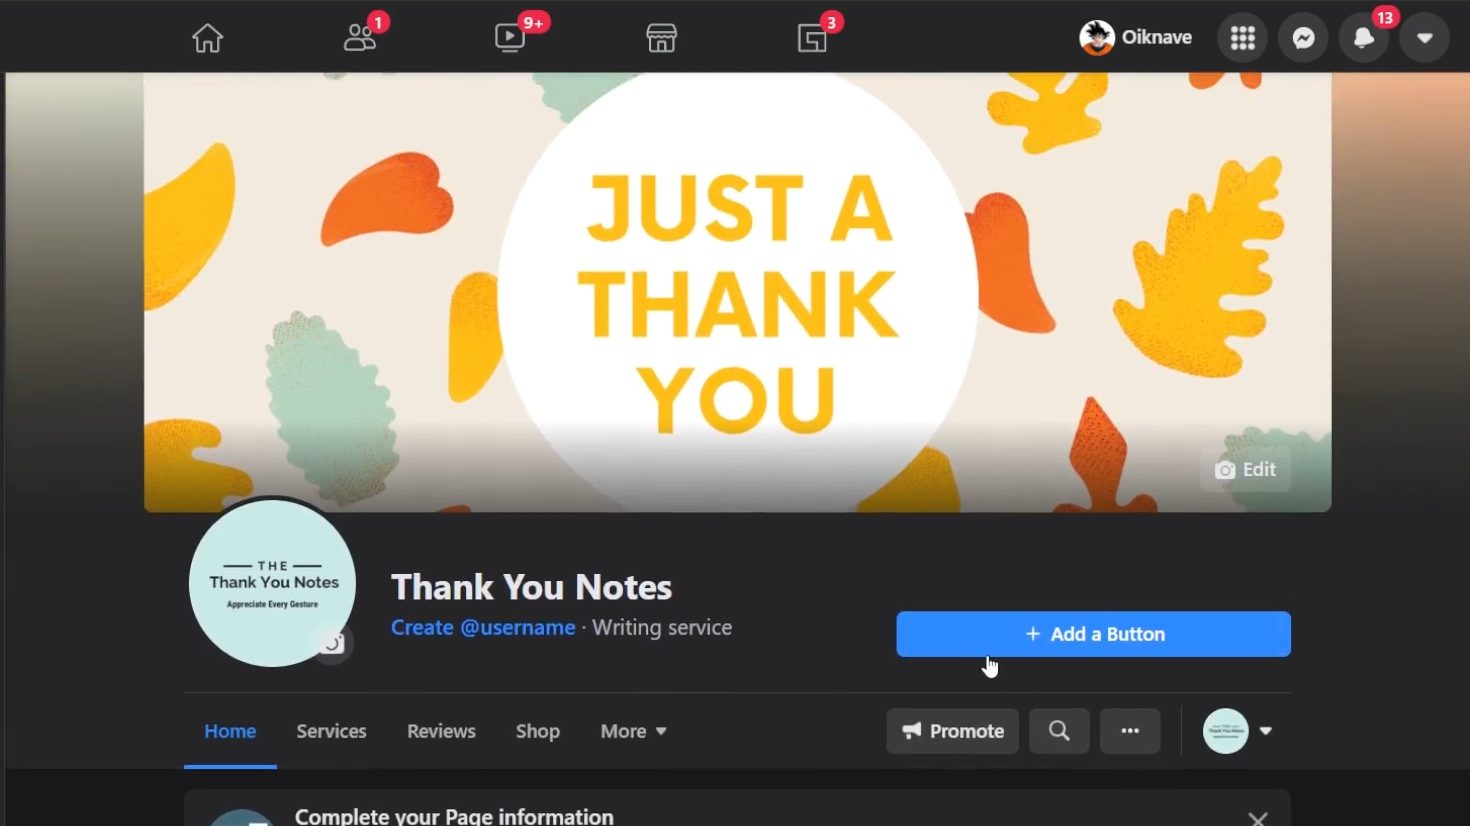
Here, you can see different Call to action options. Depending on your service you can add the preferred action button.
For Example, if you are a restaurant you can choose “Start Order” as your call to action.
I will add a Learn More button on this page. Now add the website URL for users to visit the website.
To finish the Page setup click on the Edit Page Info option available on the left-hand side of the screen.
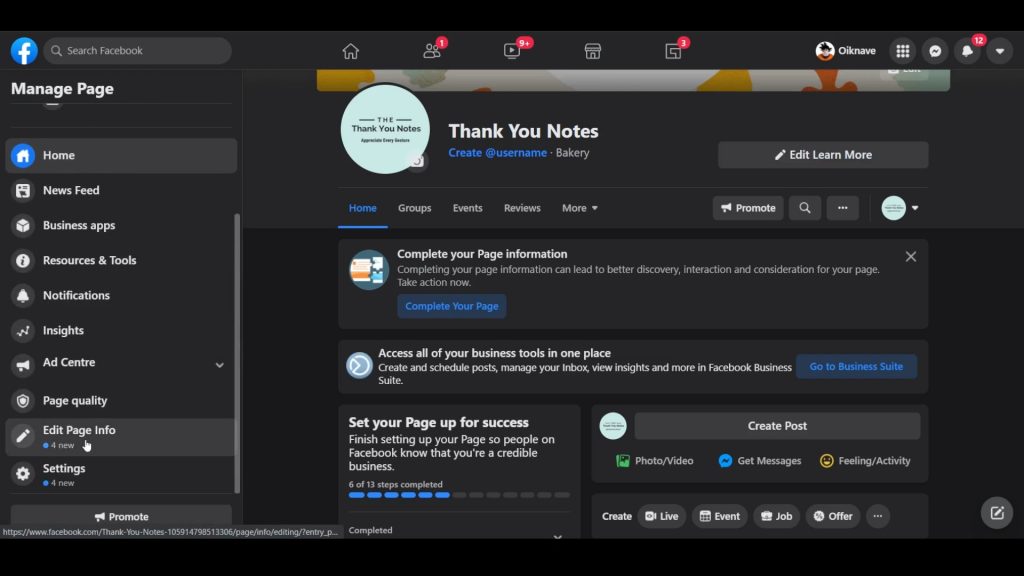
Here, you can add a username for your page once you have some likes and followers. If we try to add a username now, the site will give us an error and ask you to try later.
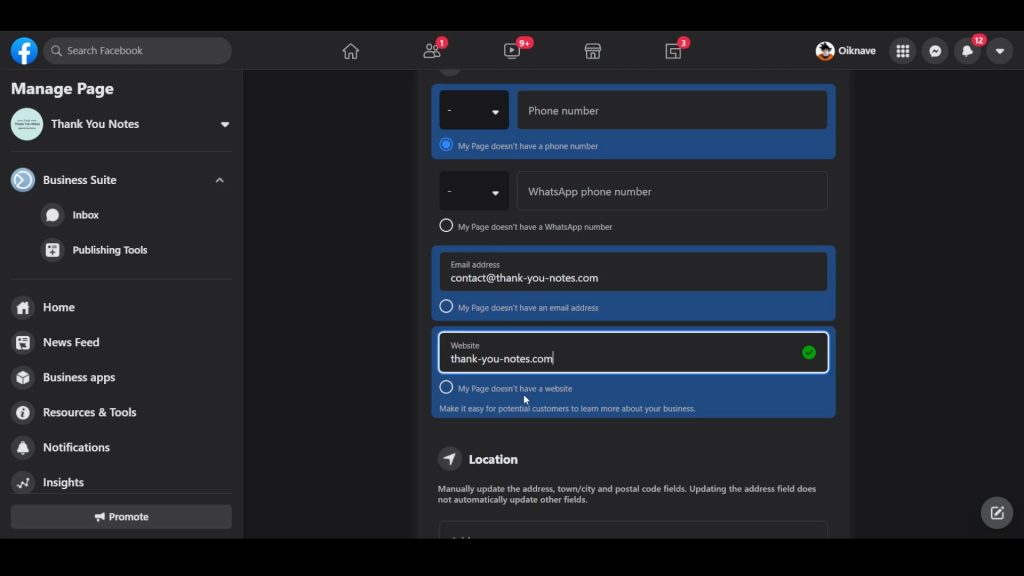
Scrolling down, to the Contact section, you can add a phone number if you want users to contact you. My page doesn’t need a contact number so I’ll click on the radio option that says “My page doesn’t have a phone number”. If you have a contact detail, you can add them on the page.
Add an Email Address for users to contact you and then add a website URL if you have one.
If your business is a location-based service you can add the address of your business in the Location section. My page does not have a location so I’ll select the radio option to ignore location from my page.
Scrolling down, you can also choose to give extra information about the location to your users, like if the customer can visit the business personally and so on.
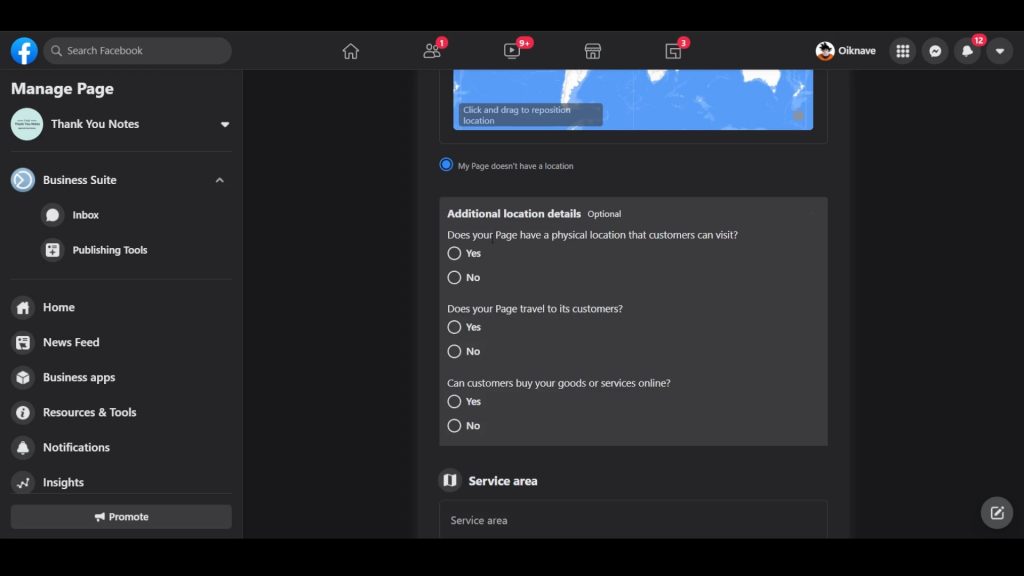
In the Service area, you can select specific areas where your business provides services.
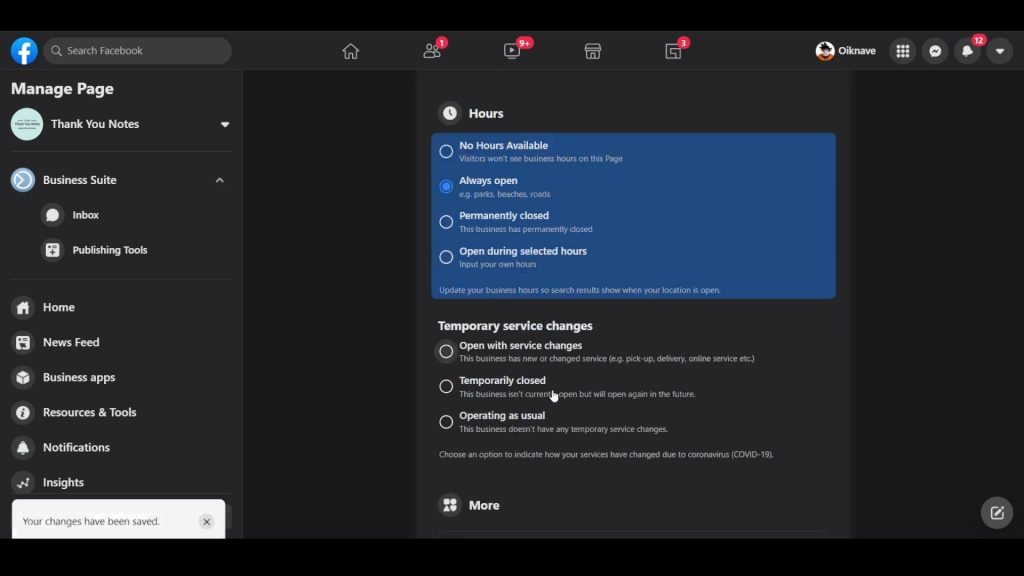
Next, update your Business hours from the Hours section.
Facebook has also added a new option due to the pandemic to choose temporary service changes for your business. You can choose an option that fits your services.
Further scrolling down, we can add more details about the business, by filling sections of the Privacy policy, Impressum is a formal “About Us” section.
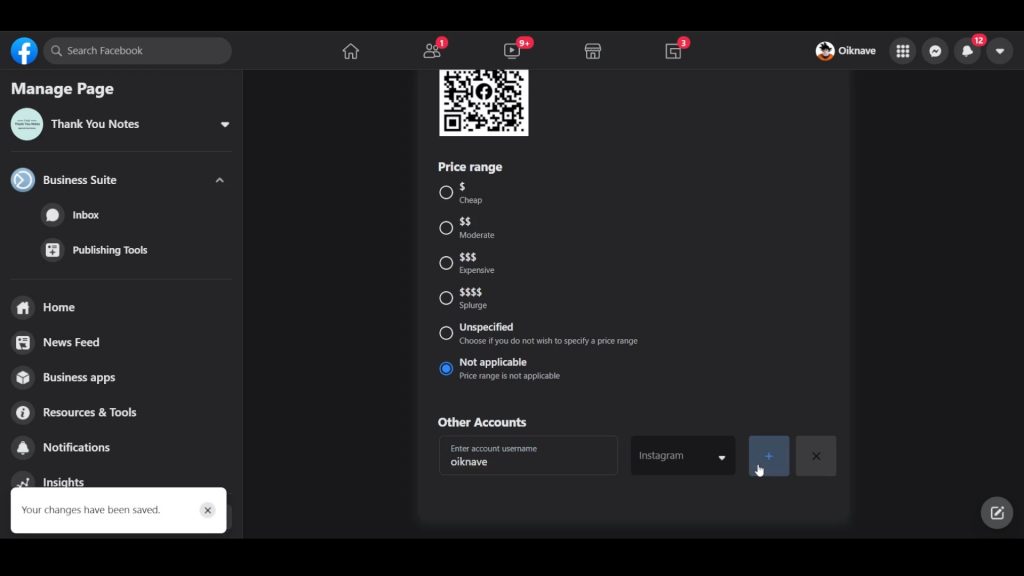
Add some Products information and so on. If you scroll down further, you can find options to choose the Price Range from “Cheap” to “Splurge”. If Price is not applicable for your page, you can select the “Not Applicable” radio option.
The last setting on the Edit Page information page is to connect other networking sites like Instagram, Twitter, etc.
The options we selected sets up most of our business page. Now we will make some advanced settings to make our page more discoverable and interactive.
Click on the Settings option from the left panel. This will open settings that we can fully customize.
For the purpose of this blog, I’ll take you through the important options. You can feel free to make other changes according to your page needs.
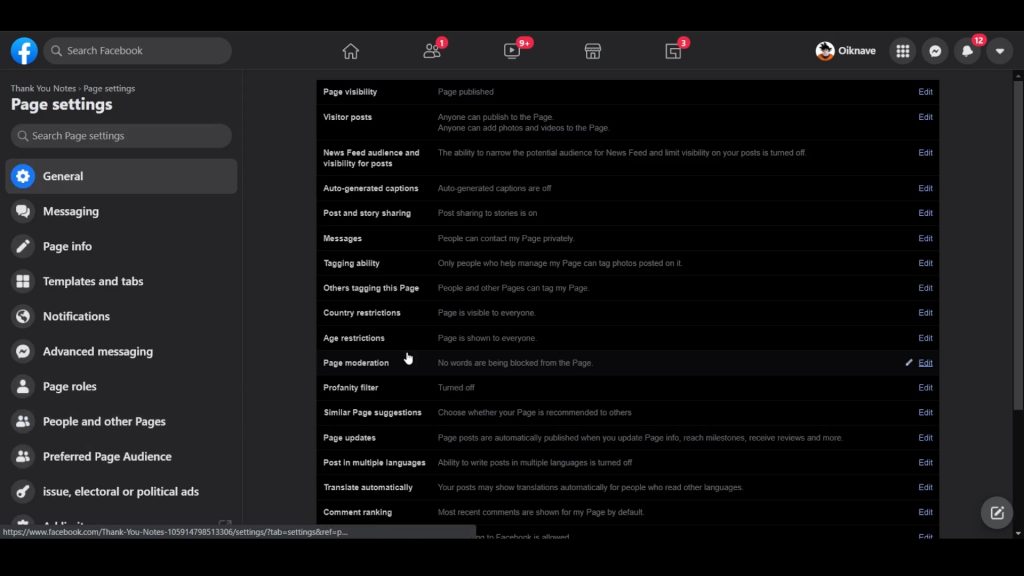
Let’s start with the General Option. In the Visitors Posts subsection, you can see that the page is set to ” Anyone can Publish to the Page” by default.
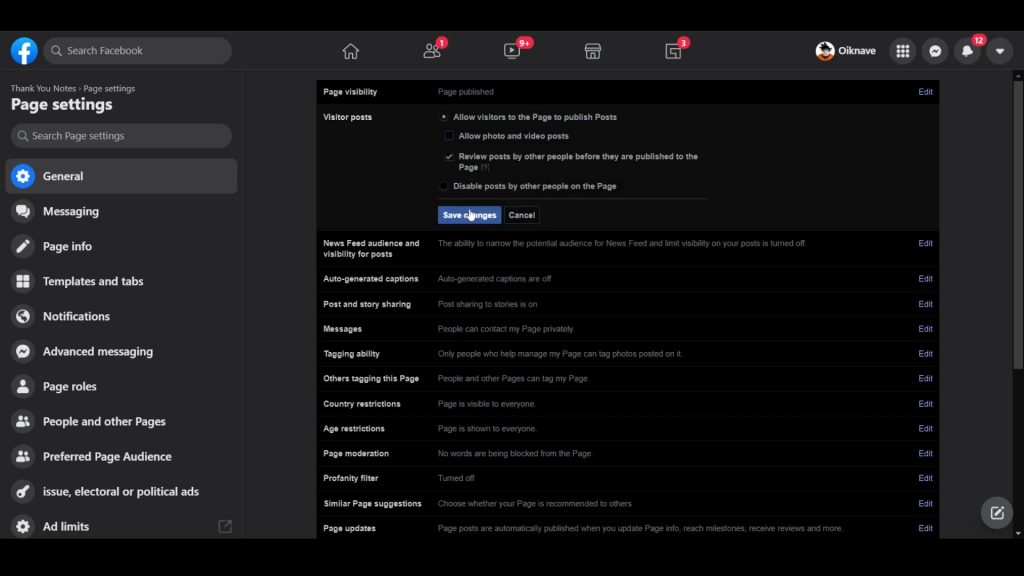
You can change it by clicking on the Edit option. Here I am choosing the checkmark Review posts by other people to make sure the posts are related to the page and not spam. You can also select the radio option “Disable Posts by other people on the Page” to make the page restricted to admins and moderators. Click on the blue button to Save Change.
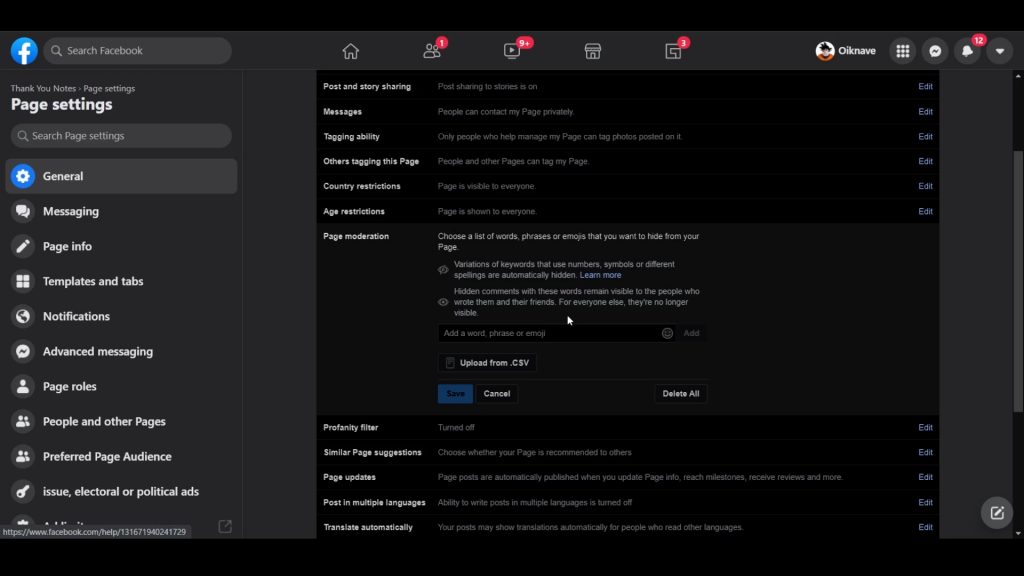
Next, an important setting is Page Moderation. This setting gives us the option to manage the page by blocking certain words, phrases, and emojis from the page.
Jumping to the Messaging section by selecting the Messaging option from the Left Panel. Here we can set up features and edit preferences for managing messages on Messenger and Instagram.
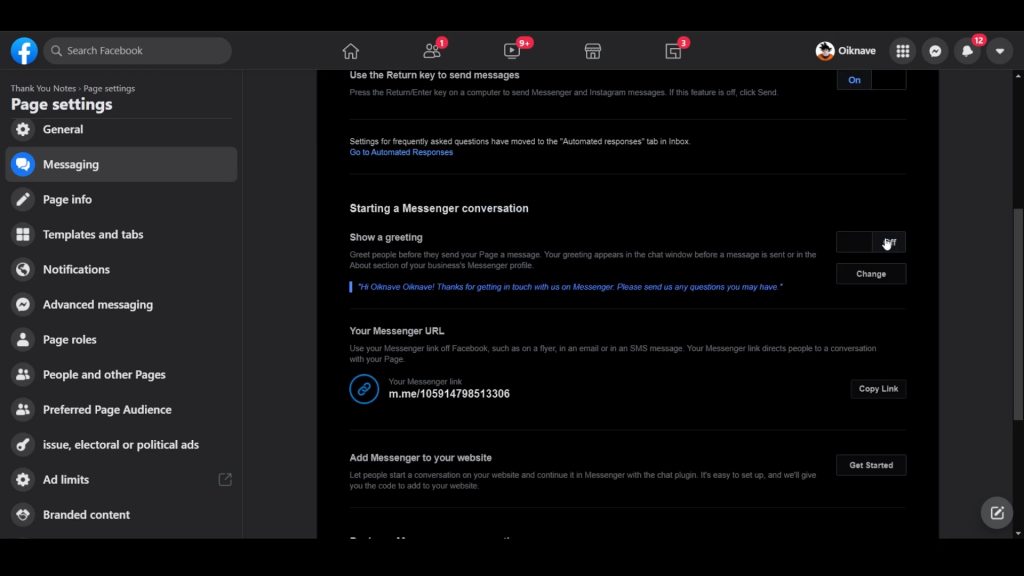
Now Scroll down to Starting a Messenger Conversation section.
Here toggle on the Show a greeting option. This will help us greet people before they send us a message on Messenger. You can go with the default Canned message provided by Facebook or add your personal touch by selecting the Change button.
Moving on to the Notification settings section.
This page manages notifications from the page. I would recommend you to toggle off notifications that can be a distraction for you. For example, New Likes, New Followers of page, etc.
The next important page setting is to manage Page Roles.
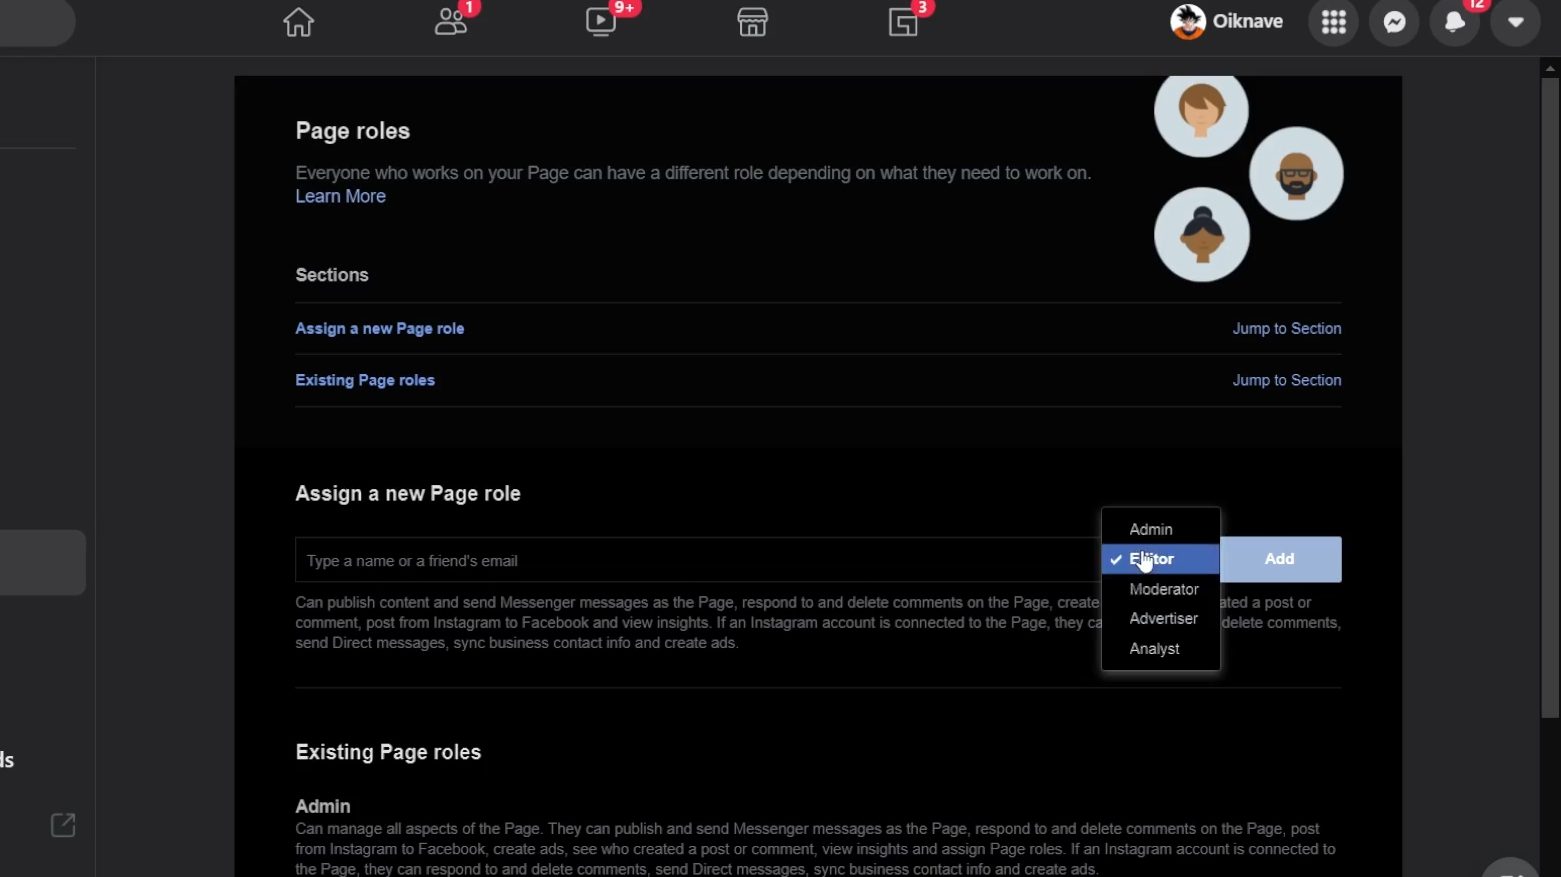
We can assign roles like Editor, Moderator, Advertiser, and analyst to different users for different purposes.
These were some of the important settings for business pages. If you would like more information about each business page setting, please let us know in the comments below.
Until next time,
Chao 🙂