Please ensure that you are using your correct name while you are doing this because Facebook allows you to do this only a few times. This article will take you through both the process for Desktop and Mobile.
For Desktop :
Go to Facebook’s Website :
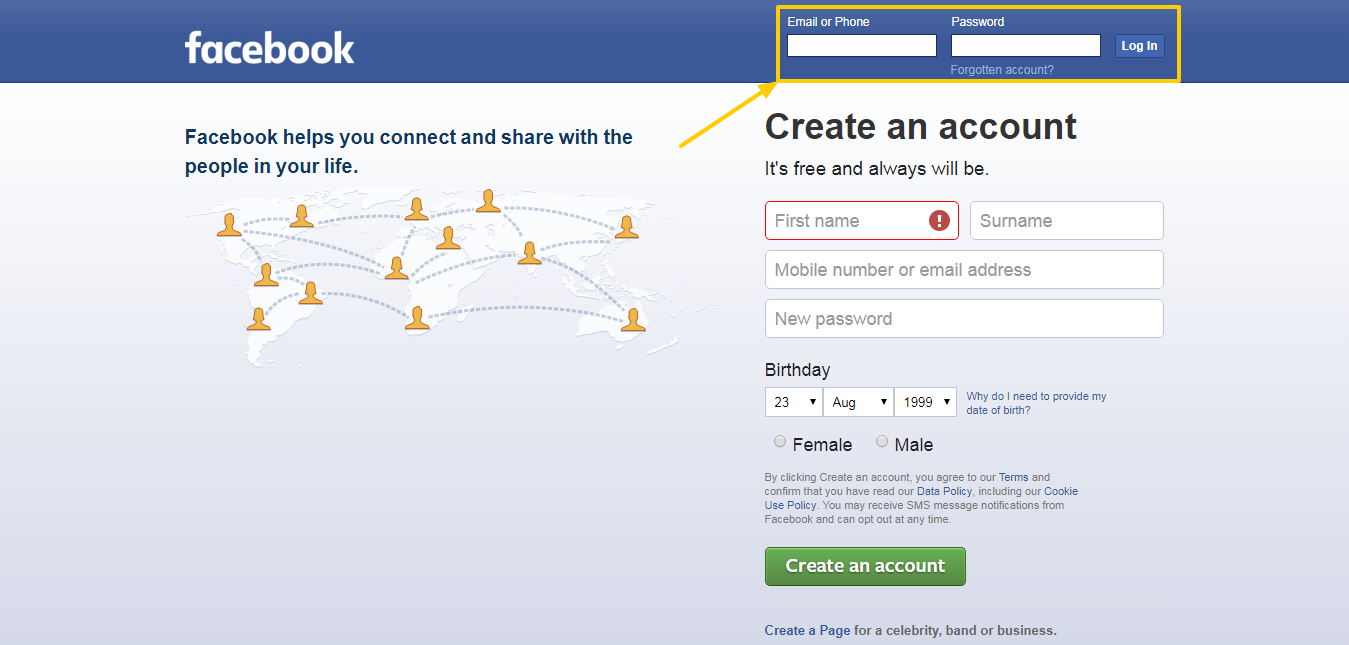
Go to Facebook in the browser you are using. This will load your home page/news feed if you are already logged in to Facebook. In the case, if you are not logged in to Facebook already then fill your Email or Phone and Password in the highlighted area and click on login button.

Click on the icon :
Click on the icon highlighted in the image below. You can find this icon to upper-right side of Facebook page.


When you click on this icon you will see Settings link in dropdown. Click on Settings. This will redirect you to the Facebook settings page.Click the General tab :
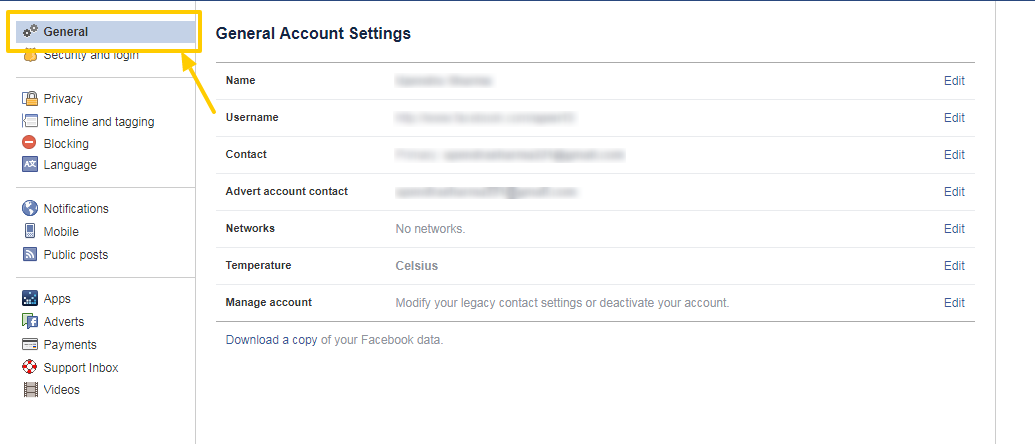
The general tab will load by default once you click on Settings. If not then click on the General tab.

Click on Edit link / Your Name :
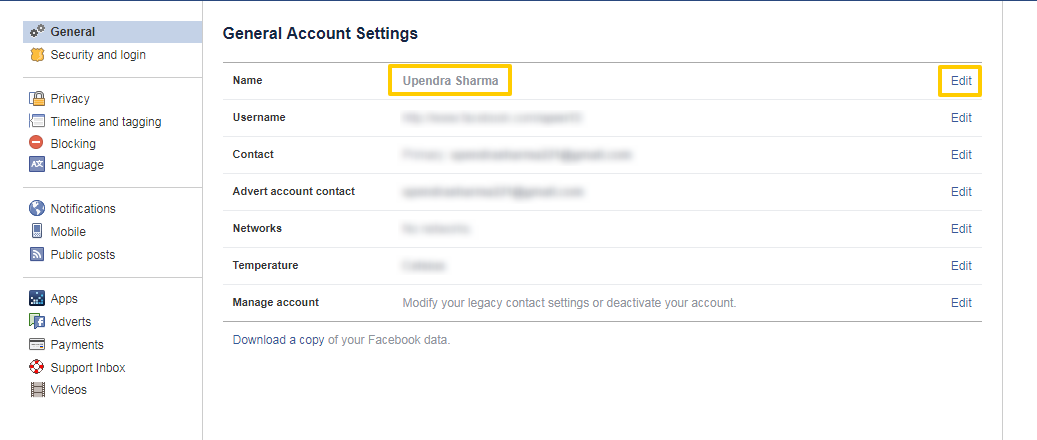
Click on the Edit link or Your Name. You can find this on the top of the General page.

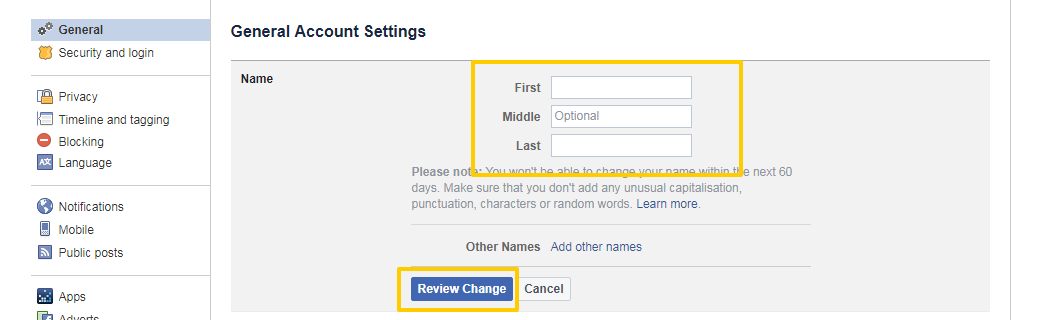
You will see some input fields with your name filled already. Update your name there and click the Review Change button.

When you click on the Review Change button after filling up your First, Middle or Last name, a popup will come up with the name you filled and how your name will be displayed on your profile, your friends.
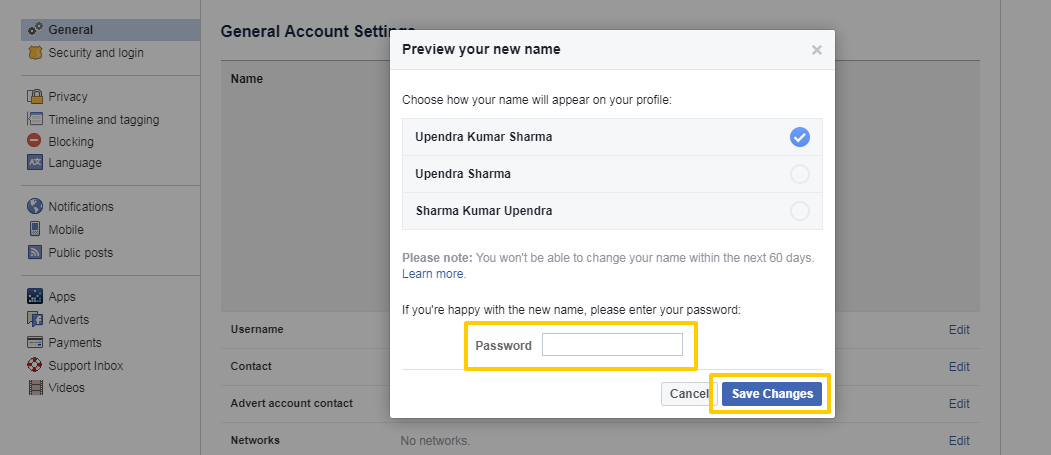

Click on the Save Changes button :
Once you have selected the display option, please fill your login password in the Password input field and then click the Save Changes button. This will change your Facebook name.
For Mobile :
Click on Facebook icon :
Look for a f icon in your mobile. Have a look on the image below how does it look like.
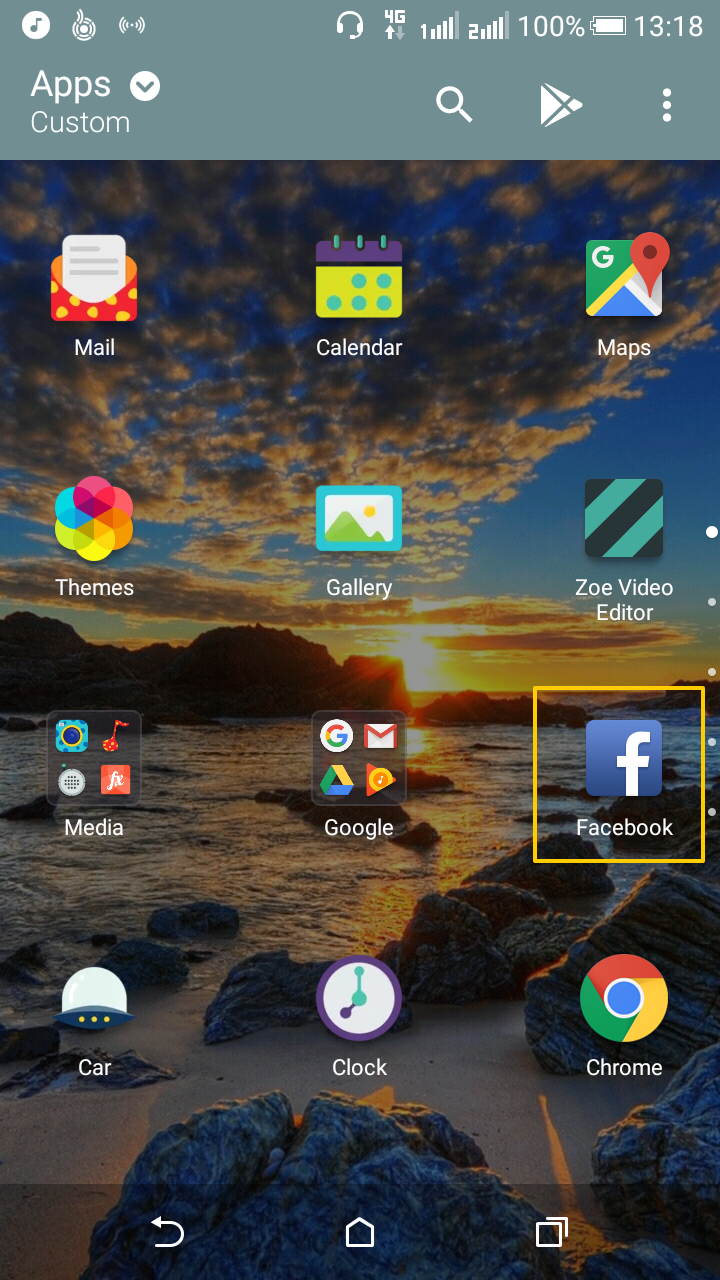

Click on the highlighted icon, it will open the news feed of Facebook if you are already logged in. If you are not logged in already then please fill your login details and get into Facebook.Click on the icon :
Click on the icon highlighted in the image below. You can find this icon on the upper right side of your Facebook page.

Once you click on the icon, this will open some menus in the dropdown.Click on Account Settings :
Look for Account settings in the dropdown and click on it.
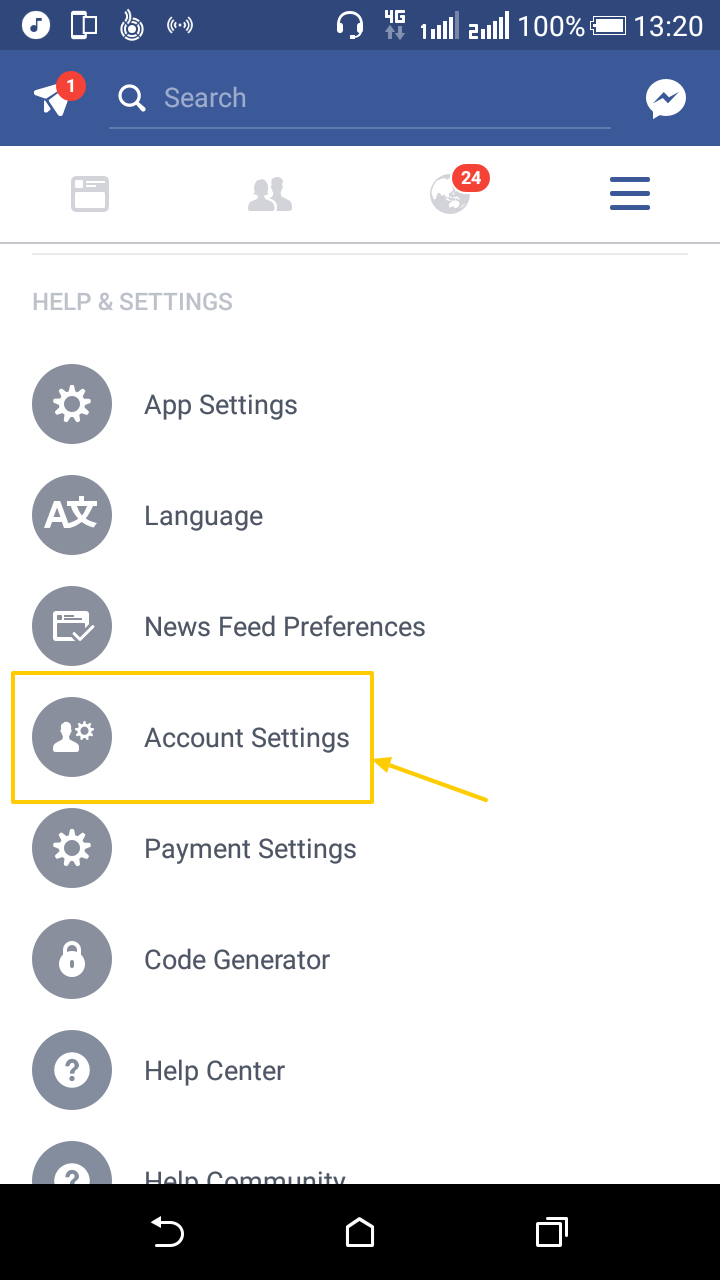
Once you click on the Account Settings link, this will take you to another page.Click on General :
Click on the General link.
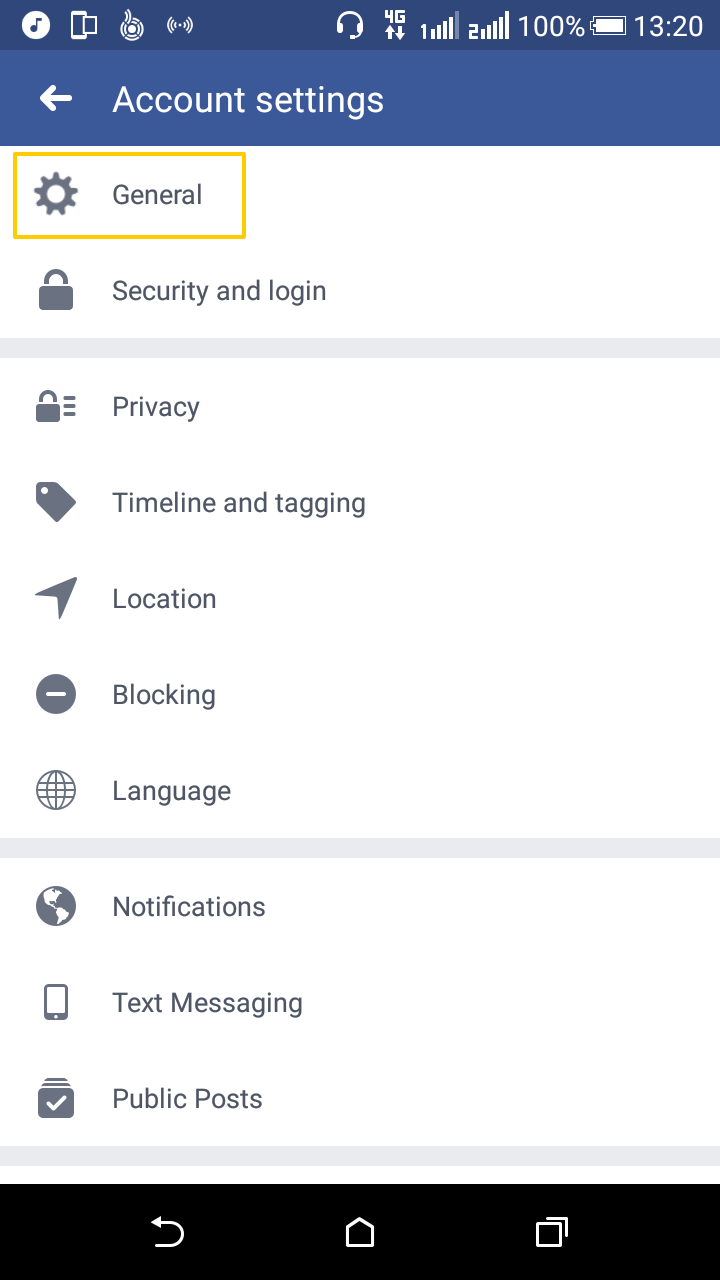
Once you click on the General icon, you will see some of your basic details like Name, Email, Phone, Network, Manage Account.Click on Name :
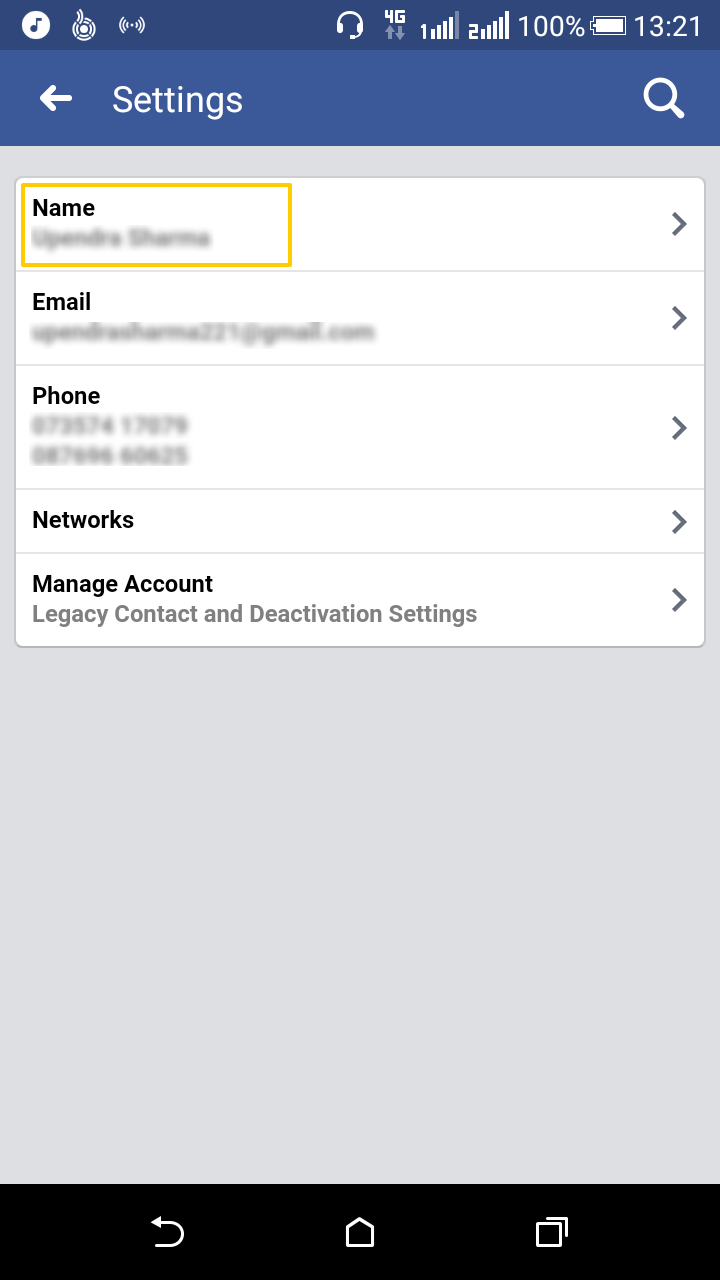
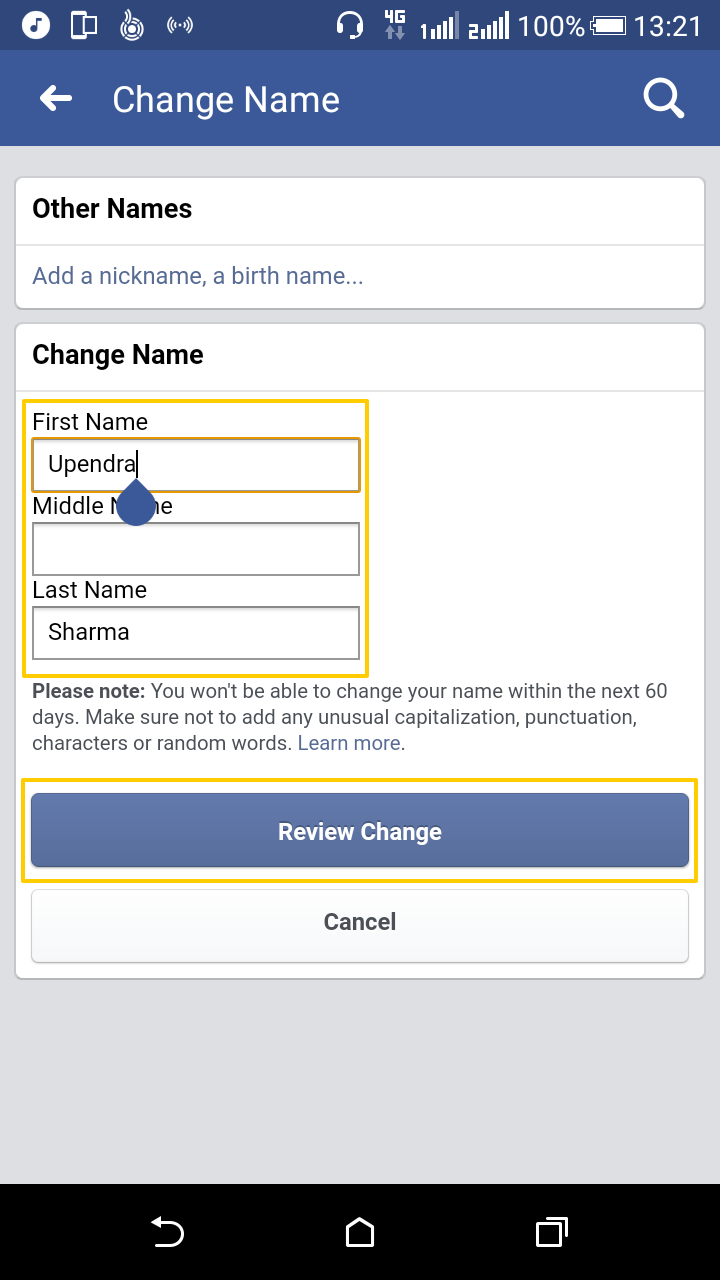
Click on Name and it will show some input fields with your name filled already which are First Name, Middle Name, and Last Name. Please fill your name details here and click on the Review Change button.
Click on Save Changes :
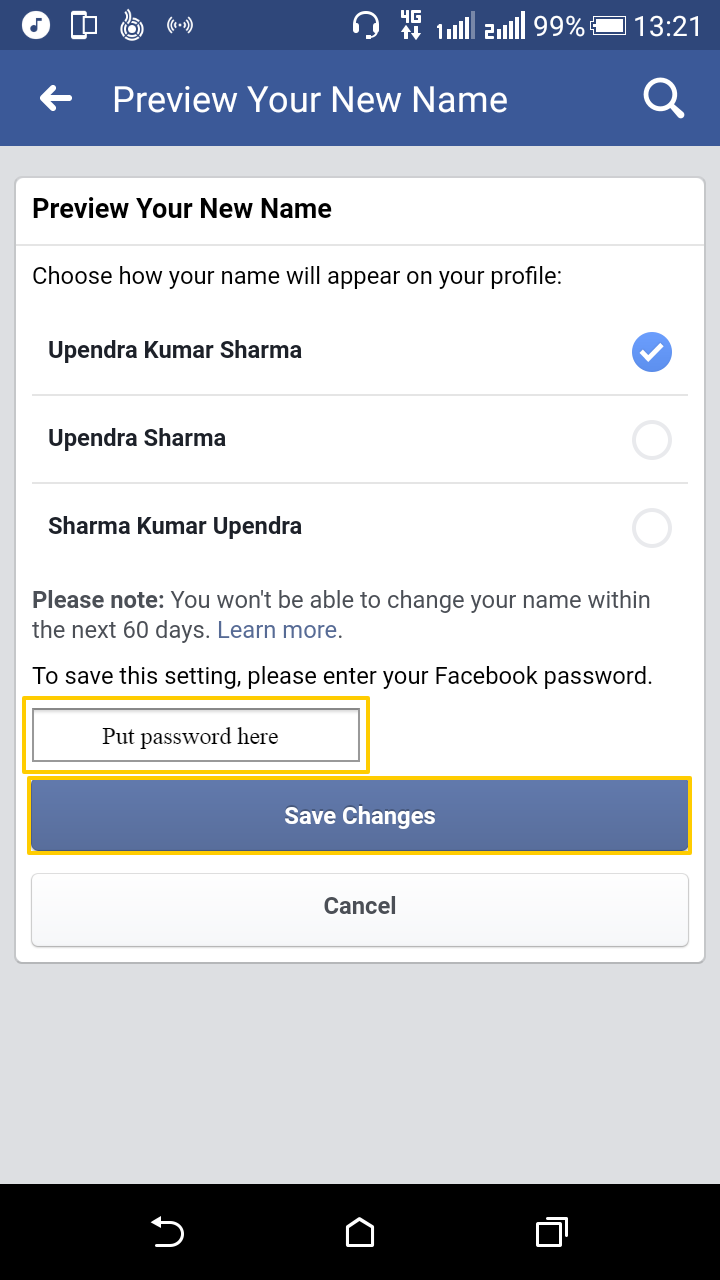
Once you click on Review Change button, it will show some display options of your name which you want to diplay on your Facebook profile. You can select any one of them. Then put your login password in the input field and click on Save Changes button and you have changed your Facebook name successfully.